Visible mending is the practice of repairing clothes with thread and fabric deliberately chosen to stand out — indigo patches stitched in white, a hole darned in mustard thread, a worn elbow rebuilt in a contrasting color. A beginner needs only a needle, thread, scissors, and about twenty minutes; the goal is not invisibility but an honest, attractive repair.
What is visible mending, exactly?
It's the opposite of invisible mending, where the whole point is hiding the fix. In visible mending, you pick thread or patch fabric in a color that contrasts with the garment, and you make the stitches neat enough to read as decoration. The tradition borrows heavily from Japanese sashiko — a running-stitch technique historically used to reinforce worn workwear with white thread on indigo cloth — and from Western darning traditions where socks and elbows were rebuilt with whatever thread was in the tin.
Why choose it over a discreet fix? Three reasons. It's easier, because matching thread perfectly is genuinely hard. It's faster, because you're not fussing over color and thread direction. And it's more charming: a row of cream stitches across blue denim looks intentional, even designed. Your sweater keeps working, and it gains a story instead of a trip to the donation pile.
What supplies do you need to start?
Almost nothing. A sharp embroidery or crewel needle (sizes 5–9 cover most mending), scissors, and thread. Perle cotton embroidery floss is the friendly choice — it's thick, glides through fabric, and comes in every color; a single $2–4 skein as of early 2026 mends several garments. Regular polyester all-purpose thread works too but is finer and needs doubling. For patches, save scraps of denim, cotton twill, or old garments in a small bag; iron-on mending fabric costs a few dollars at any fabric store.
One genuinely useful upgrade: a darning mushroom or a small wooden egg for socks and elbows — it holds the fabric taut while you weave. A $10–15 one lasts a lifetime, though a lightbulb or a mug works in a pinch. Keep everything in a tin or pouch so mending competes with scrolling, not with setting up a craft room. Prices are subject to change, but this remains one of the cheapest hobbies with the highest payoff per hour.
How do you darn a hole step by step?
Darning rebuilds fabric where fabric is missing — think moth holes in sweaters and thin spots at elbows. Working with a contrasting thread makes every step easier to see, which is exactly the point here.
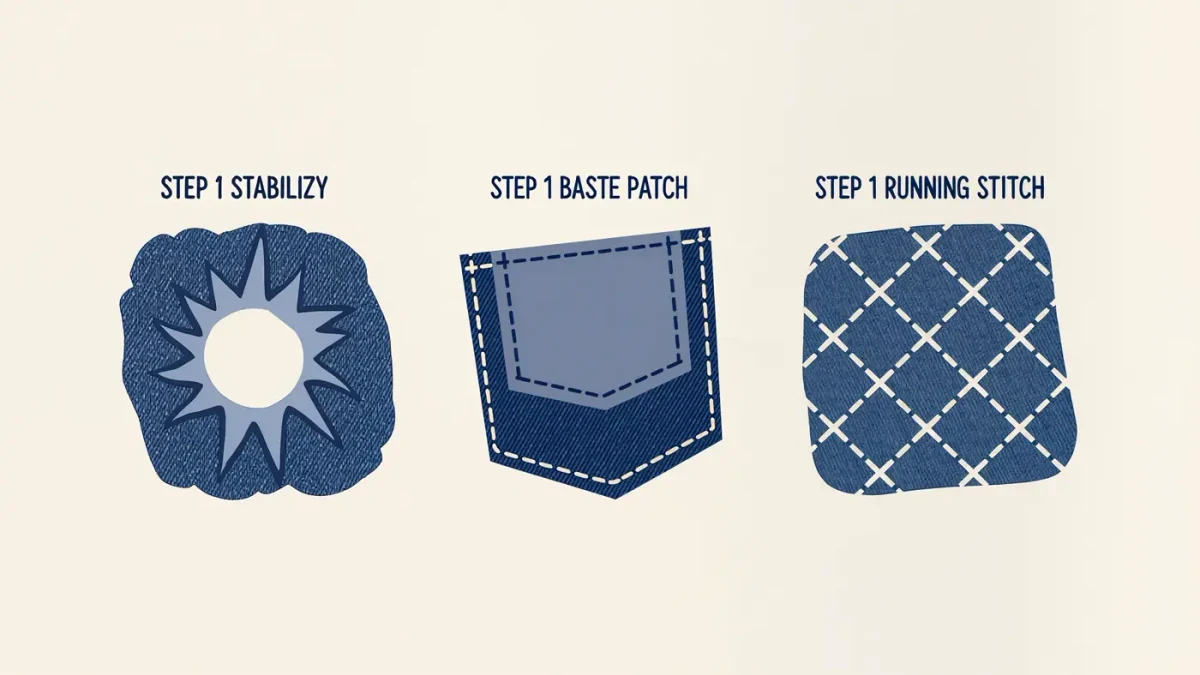
- Stabilize. Turn the garment inside out if you prefer, place it over a darning mushroom, and gently stretch the hole area taut. Don't stretch so hard you distort the knit.
- Sew the warp. With running stitches, lay parallel rows of thread across the hole, extending about half an inch into the good fabric on every side. Leave the rows loosely side by side — don't pull them tight or the patch will pucker.
- Weave the weft. Turn 90 degrees and weave your needle over and under the warp rows, packing each new row against the last, again into the sound fabric beyond the hole.
- Finish. Knot on the underside, weave the tail through existing stitches, and clip. Lightly steam or press under a cloth.
Ten to twenty minutes for a small hole. Your first attempt will look homemade; by the third it looks like a choice.
How do you patch jeans with sashiko-style stitching?
Denim is the ideal canvas because contrast thread on indigo is the classic sashiko look. Cut a patch from scrap denim or cotton about half an inch larger than the worn area all around. Baste it behind the hole with long temporary stitches, then anchor it permanently with rows of running stitches in perle cotton — straight rows are fine, and rows of little Xs or cross-hatching are the traditional look. Work from the center outward so nothing bubbles.
Where the fabric is merely thin (that pale fuzz before the hole) but not broken, skip the patch and reinforce directly: rows of running stitches through the thin zone alone will stabilize it for years and look like deliberate texture. Knees, seat, and thigh-repair on jeans are the highest-value mends in any wardrobe — one evening of stitching can add a couple of years to a $60–120 pair, as of 2026 retail prices.
When is visible mending the wrong choice?
A few honest limits. Silk blouses, structured blazers, and anything with a print that would clash with added texture are usually better served by a tailor's invisible repair. A torn seam is not a mending project — a straight machine-sewn seam is stronger and takes a shop ten minutes (typically $10–20 as of early 2026). And certain beloved items deserve professional hands; if you'd be devastated by a wonky result, that's your answer. For safety-adjacent guidance on fabric care and mending, university extension services publish solid beginner references — for example, Kansas State University's extension notes on mending basics.
FAQ
Will the repair survive washing?
Yes, if you used good thread and anchored stitches half an inch into sound fabric — that extension is what keeps repairs from tearing out. Wash mended items on gentle, cold, inside a mesh bag, and air-dry. Hand-darned sweaters especially prefer being folded, not hung.
Can I machine-sew visible mending?
You can — a straight or zigzag stitch in contrast thread over a patch works, and some machines have decorative stitches that look wonderful across denim. But hand running stitches sit flatter and follow curved wear patterns better, which is why hand mending remains the default for elbows and knees.
What thread color should a beginner pick?
Go two steps bolder than feels safe: cream on indigo and ecru on black denim are classic; mustard, rust, and sage flatter most palettes. White perle cotton on nearly anything reads as intentional design rather than an emergency.